Create your first campaign in less than 5 minutes – step by step
The video above provides a quick overview of the Blindspot platform. For marketers and advertisers aiming to launch successful DOOH advertising campaigns, this detailed guide covers every essential step in digital out of home advertising to maximize campaign performance and audience engagement.
Step 1: Create an account
Start by clicking the “Start For Free” button if you’re new to the platform, or “Sign In” if you already have an account. Both options are conveniently located in the top right corner of this page. Creating an account grants access to Blindspot’s extensive DOOH inventory and advanced campaign management tools, enabling precise targeting and control.

Step 2: Launch Your First DOOH Campaign
After logging in, navigate to the Publish section in the left menu or select “Create Campaign” in the top-right corner. This initiates the setup of your digital out of home advertising campaign with full control over targeting, scheduling, and creative content.

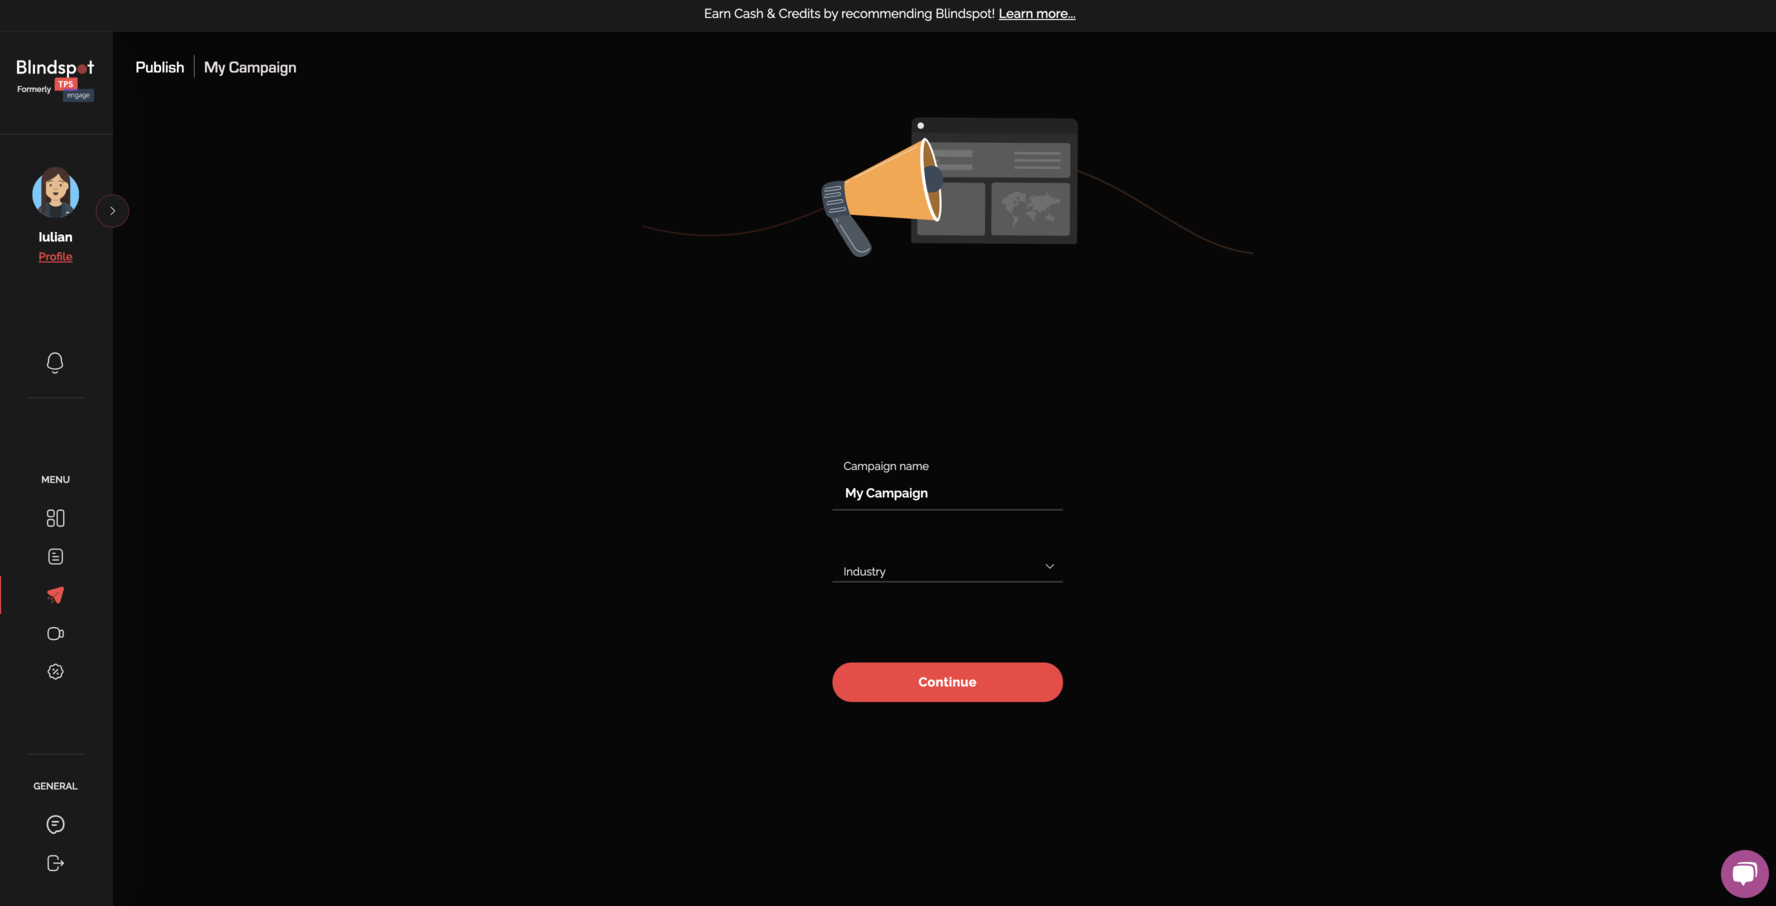
Step 3: Enter Campaign Details
Provide a clear campaign name for easy tracking and reporting. Select your industry to ensure contextual relevance and avoid running your ads immediately after competitors within the same category. This strategic targeting enhances your brand message and maximizes the effectiveness of your DOOH advertising.
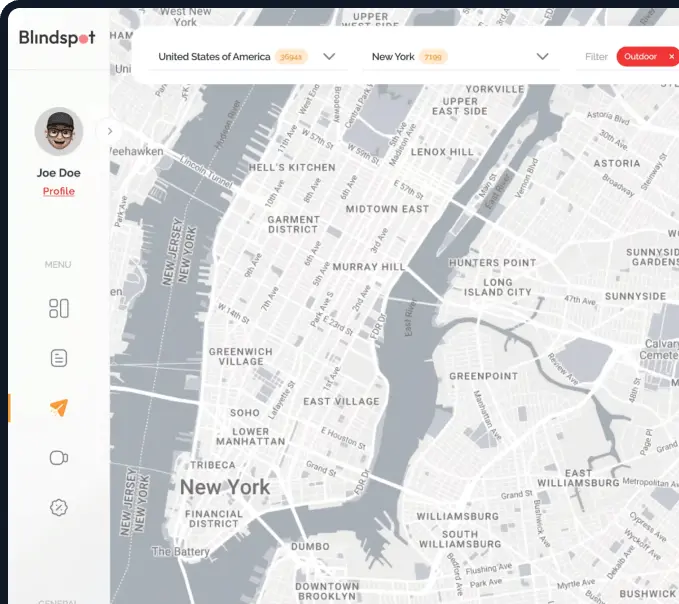
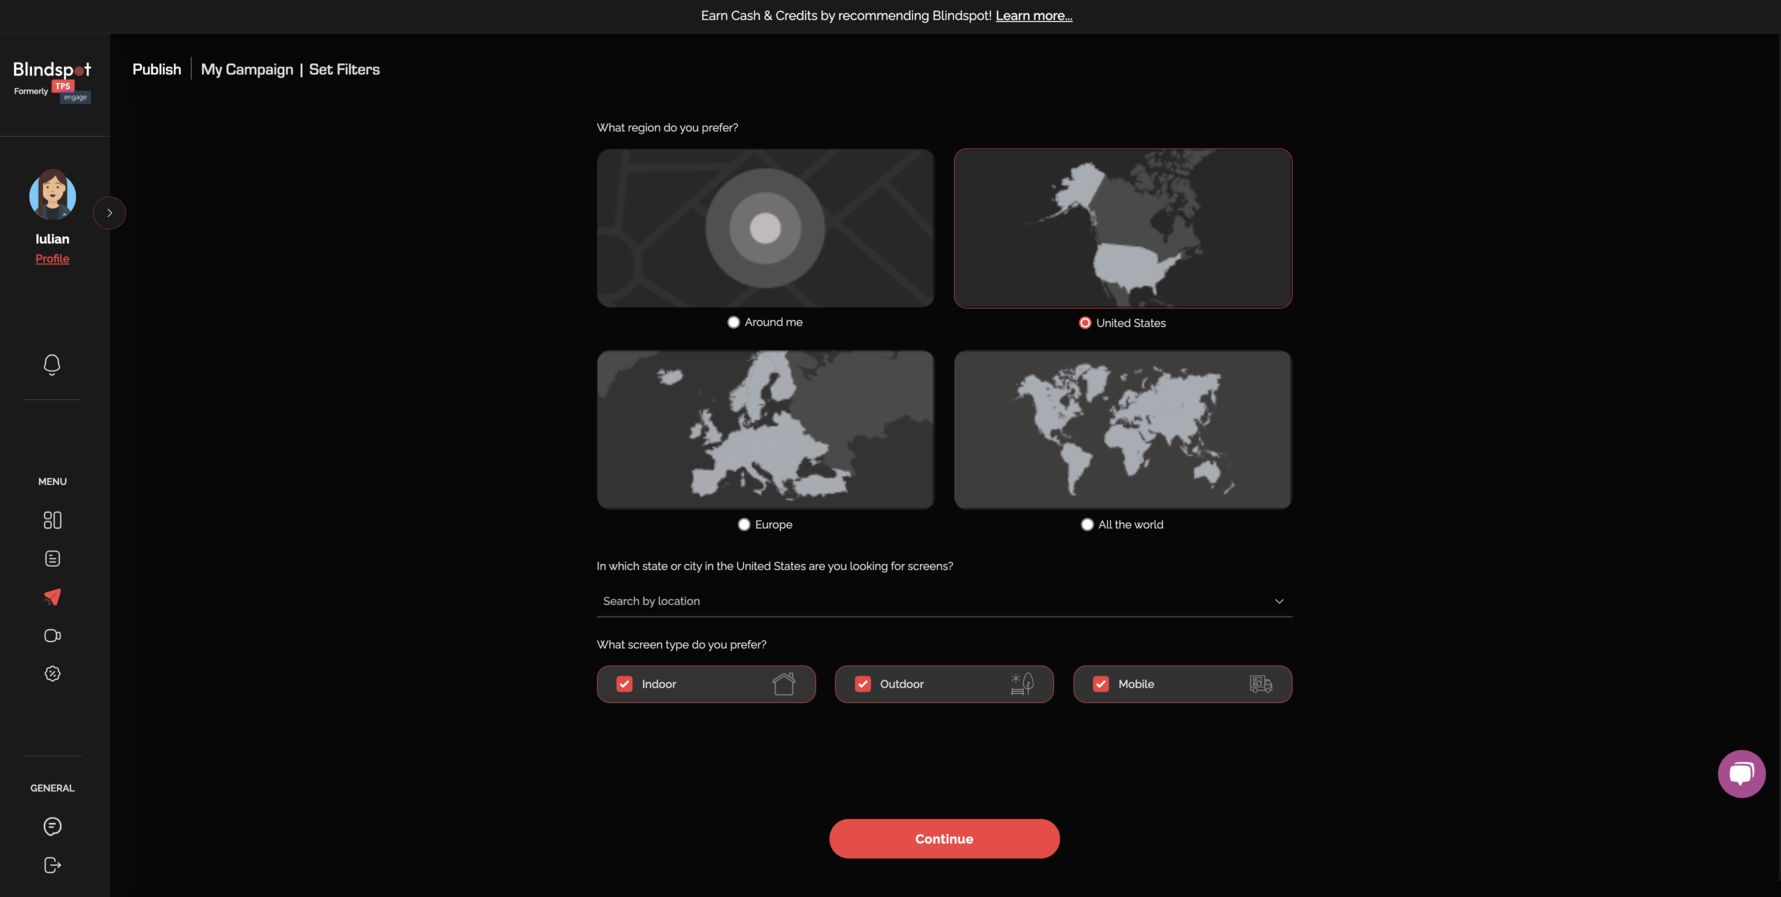
Step 4: Choose Locations Strategically
Select your geographic area by searching for countries or cities. Use advanced filters to refine your options by indoor, outdoor, or mobile digital billboards, as well as categories like Spectacular or Urban Panels. Adjust filters by price or availability to align with your budget and campaign goals.
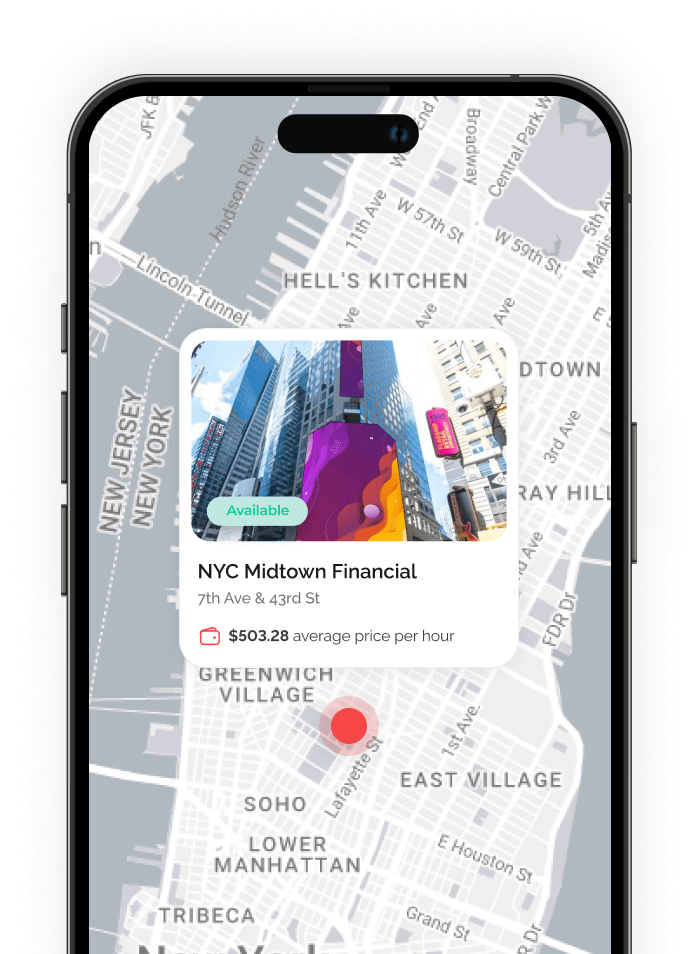
- Search by billboard name or explore locations using the interactive map’s zoom and pan features.
- Click on any location to view essential details such as scheduling options, display format, and play frequency.
- Book your chosen digital screens directly through the interface, ensuring your ads reach the right audience in the right environment.
Step 5: Schedule Your DOOH Campaign with Precision
Set your campaign’s days, hours, and frequency. For example, selecting 10 plays per hour means your ad will run approximately every six minutes. This scheduling flexibility allows you to optimize your campaign’s reach based on your target audience’s behavior, daily routines, and peak engagement times.
Step 6: Upload Content and Define Contextual Rules
Upload your campaign creatives, supporting both static images (JPEG) and video files (MP4). Most DOOH networks run ads for 10 seconds per slot, with any exceptions clearly indicated. The upload window displays the correct resolution for each screen to ensure your content looks crisp and professional.
Contextual advertising is a key feature of Blindspot’s platform. You can add dynamic rules to tailor your messaging based on real-time data and environmental factors, such as:
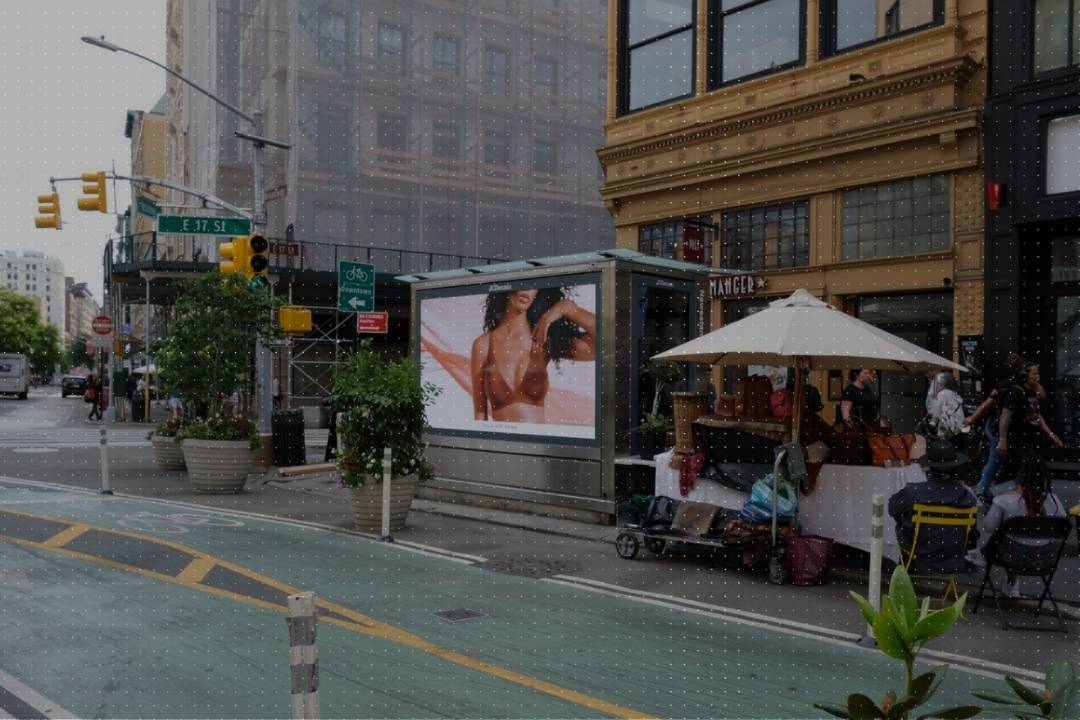
- Rain Rule: Display umbrella ads only when it’s raining.
- Time-Based Rules: Promote lunch specials at midday.
For dynamic creative optimization, upload at least two creatives per screen. This enables your campaign to adapt and deliver contextually relevant messaging that resonates with consumers in their surrounding environment.
Things to Keep in Mind During DOOH Campaign Setup
When setting up your DOOH campaign with Blindspot, the summary section shows important stats about your plan. These include:
- Number of locations and screens selected
- Hourly slots
- Estimated reach
- Total budget
The estimated reach comes directly from the network that owns the screen. While Blindspot doesn’t generate these stats, they are generally accurate. At the end of your campaign, you’ll also receive the actual reach numbers.
Using the Global Schedule
In the scheduling tab, you can choose Global Schedule to apply the same time slots across all selected billboards. This feature is especially useful when you run ads on multiple screens and want consistency.
Alternatively, you can set schedules individually by clicking on the name of each screen. Once you configure your schedule, click Continue to move forward.
Uploading Visuals and Contextual Rules
After scheduling, upload your campaign visuals. Blindspot supports static images (JPEG) and video files (MP4). Most networks run ads for 10 seconds per slot, but any exceptions will be clearly stated. The correct resolution for each screen displays in the upload window.
Important: you cannot continue if no visuals are uploaded, and files must match the resolution requirements.
Once uploaded, you can add contextual rules to make your campaign dynamic. For example:
- Rain rule → umbrella ads trigger only when it rains.
- Time-based rules → lunch promotions show at midday.
If you want dynamic creative optimization, upload at least two creatives per screen. Otherwise, you may get an error message.
Monitor and Optimize Your Campaign Performance
Once your campaign is live, Blindspot provides detailed analytics including estimated and actual reach, attribution capabilities, and foot traffic impact. This data allows you to determine how effectively your ads engage the target audience and influence customer behavior. Use these insights to refine your campaign in real time, adjusting creative content, scheduling, or targeting to maximize benefits.
Finalizing and Publishing Your DOOH Campaign
Review your campaign in the preview screen to ensure all elements align with your strategy. Once you click Publish Your Campaign and it passes approval—which typically takes two business days—your ads will go live on selected digital screens at the scheduled times.
You can also download your media plan for record-keeping and to analyze campaign performance metrics.
Why Choose Digital Out of Home Advertising with Blindspot?
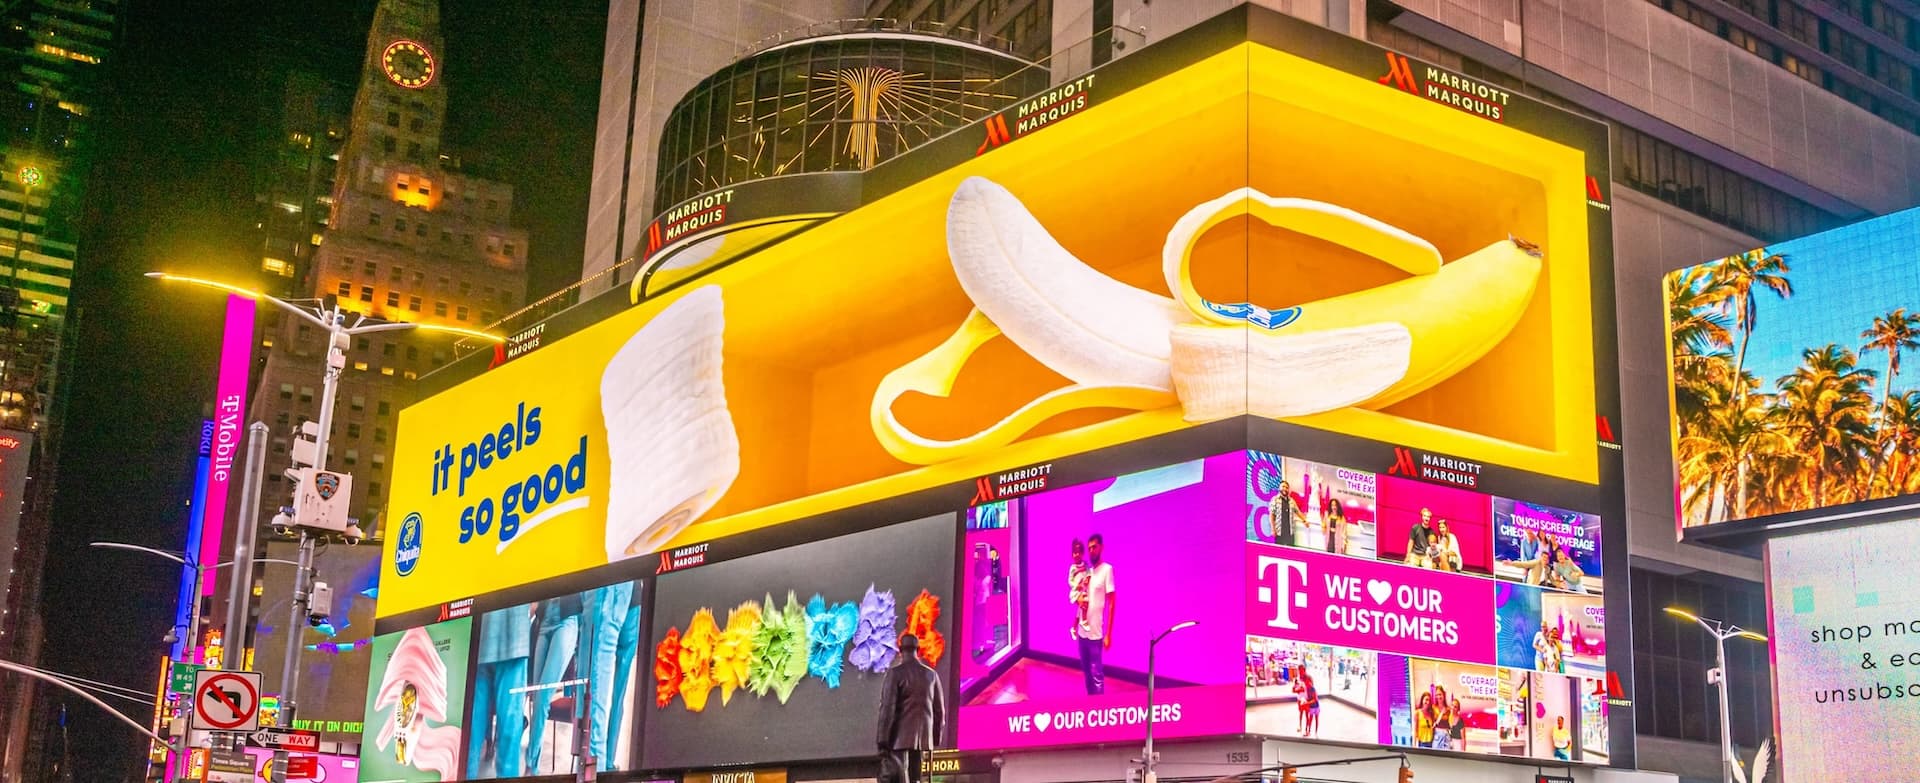
Digital out of home advertising is a powerful advertising channel that enables marketers to reach consumers outside their homes with impactful, contextually relevant messaging. Leveraging real-time data and dynamic digital screens, DOOH ads deliver measurable results and create a lasting impression on your target audience.
By combining advanced targeting capabilities, flexible scheduling, and rich creative options, Blindspot empowers brands to differentiate themselves in a competitive market, expand visibility, and drive sales through an omnichannel approach.